
Style
Ever Wonder How To Unravel Your Car&039;s Electrical Mysteries? Let&039;s Dive In!
Oct
Automotive electrical issues can be incredibly frustrating, from a simple dead battery to complex sensor malfunctions. Understanding how to perform basic electrical tests can save you time, money, and a lot of head-scratching. The good news is that with the right tool and a bit of knowledge, you can start diagnosing many common problems yourself. This guide will walk you through the essential steps, tools, and settings to get you started on your diagnostic journey.
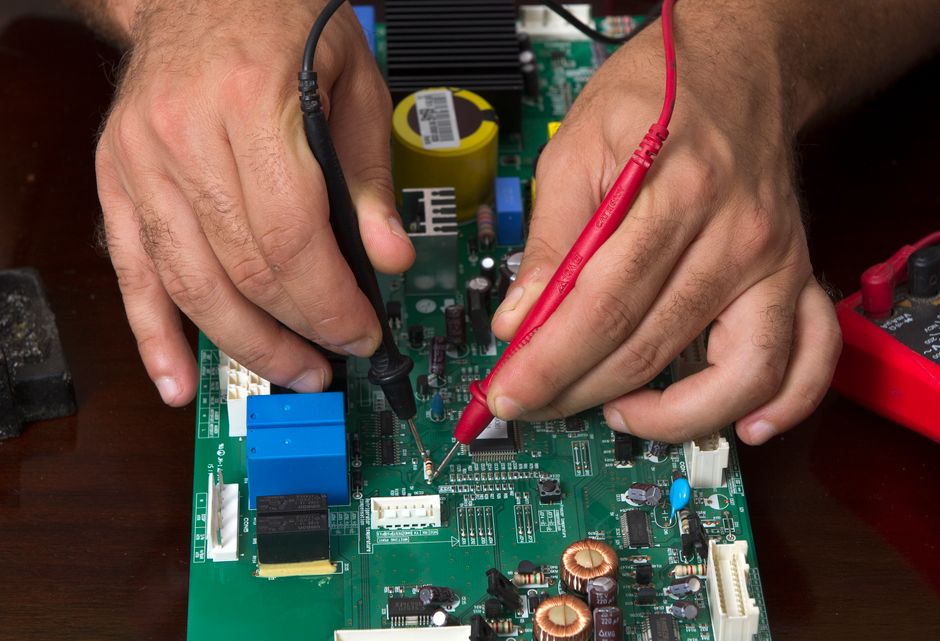
The primary tool for most automotive electrical tests is a Digital Multimeter, or DMM. This versatile device allows you to measure voltage, resistance, and continuity, which are the cornerstones of electrical diagnostics. A good quality DMM will have a clear display, a rotary dial for selecting functions, and two test leads (usually red for positive and black for negative). When choosing a DMM, look for one that is auto-ranging, as this simplifies the process by automatically selecting the correct measurement range.
To test for voltage, which measures the electrical potential difference between two points, you'll set your DMM to DC Volts (often indicated by a "V" with a straight line above it, or "VDC"). If your DMM isn't auto-ranging, select a range higher than the expected voltage, typically 20V for a standard 12V automotive system. To probe, connect the red lead to the positive side of the circuit you're testing and the black lead to a known good ground point or the negative side. Voltage tests are always performed in parallel with the circuit. For example, to check your battery's charge, touch the red lead to the positive battery terminal and the black lead to the negative terminal; a healthy battery should read around 12.6 volts when fully charged, and 13.5-14.5 volts with the engine running, indicating the charging system is working.
Testing resistance, measured in Ohms (indicated by the Greek letter Omega, Ω), helps you determine how much a component opposes the flow of electricity. Before performing a resistance test, always ensure the circuit or component you are testing is completely disconnected from power to avoid damaging your DMM or getting inaccurate readings. Set your DMM to the Ohms function. If auto-ranging, it will find the correct scale; otherwise, start with a lower range and adjust as needed. Place the red and black leads across the terminals of the component you're testing. For instance, testing a light bulb filament should show a low resistance reading, while an open circuit (a broken wire) would show "OL" (over limit) or a very high resistance.
Continuity testing is a specific application of resistance testing, often with its own dedicated setting on the DMM (look for a speaker icon or a diode symbol). This test quickly tells you if there's an unbroken electrical path between two points. Like resistance testing, the circuit must be de-energized. Place one lead at the start of the wire or component and the other lead at the end. If there's continuity, the DMM will typically beep and display a very low resistance reading (close to zero Ohms). This is invaluable for checking fuses, switches, or long stretches of wire for breaks.
When probing, precision and safety are paramount. Always avoid piercing wire insulation unnecessarily, as this can lead to future corrosion and electrical issues. Instead, use back-probing techniques with slender probes that can slide into the back of a connector to touch the metal terminal without damaging insulation. Ensure your black lead always has a solid connection to ground. Never attempt to measure current (Amps) by connecting the DMM in parallel across a voltage source, as this will likely blow the fuse in your DMM or damage the device. Current measurements require the DMM to be placed in series with the circuit, which is a more advanced technique and should only be attempted when you fully understand the circuit and your DMM's current limits.
In summary, mastering these basic DMM functions – voltage, resistance, and continuity – provides a strong foundation for diagnosing automotive electrical problems. Always prioritize safety by disconnecting power when testing resistance or continuity, wearing eye protection, and avoiding short circuits. With practice, you'll gain confidence in interpreting your readings and pinpointing the source of many common electrical glitches, empowering you to tackle your car's electrical system with greater understanding and skill.
